I enjoy playing with clays – an artist can create spectacular art pieces with endless creativity. I have been spending my week nights for the past few weeks making some earrings, most of them are made with clay canes I made. Here is the process and some of the tips on how I create my version of mosaic tile beads. Hope you like it!
Tools and materials:
- Clay Rolling Rod
- Large working surface
- Clay slicing blade (if you don’t have one, try taking out the blade from a regular cutter)
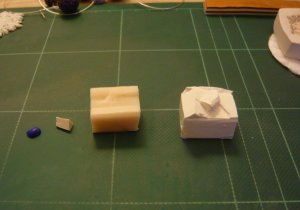
The clays that I am using are Sculpey polymer clays, the colors are:
- White( around 1/4 of a 2oz clay block as the “grout” and a pinch to be mixed in with the translucent clay for the mosaic tiles),
- Royal blue (Just a Pinch to color the mosaic tiles)
- Translucent (1/8 of a 2oz clay block for the mosaic tiles)
Remember, only a pinch of royal blue and white clay is needed to be mixed with the translucent clay, or the pigments of colored clays would destroy the translucent glass effect. Another alternative would be using alcohol-based inks.
~Step 1~
Let’s start with the mosaic tile. Mix the pinches of royal blue and white with the translucent clay together by rubbing and rolling them with your hands of with a clay rod (non-stick).

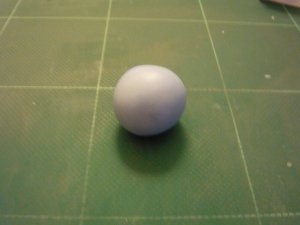
When all the colors are well mixed together, it would look like this – a light blue clay ball.
 ~Step 2~
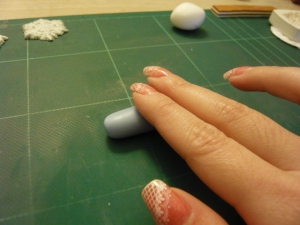
With your hand, roll the light blue clay ball, roll roll roll, until it becomes a 5mm diameter cane.
~Step 3~
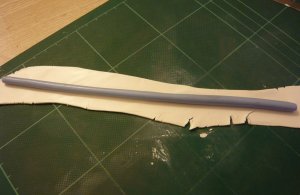
Now the “grout” part. Repeat step 1 and 2 , with the white clay and roll it into a cane. Use the rolling rod, flatten the cane into a 2mm clay sheet and put the light blue cane on top of it.
~Step 4~
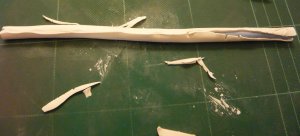
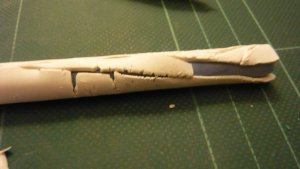
Wrap the blue cane with the white clay, take your time and make sure the whole cane is covered and avoid any overlaps. Use a clay blade, cut off the excess clay and paste them on the missing spots (don’t worry if it does not look smooth at this point).
 ~Step 5~
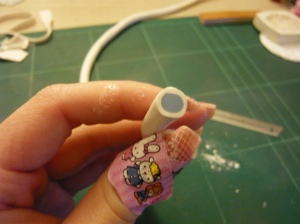
Gently squeeze the cane to eliminate any air bubbles between the clays, with even pressure roll it with your hand until the white clay is evenly distributed, fully covered and smooth. Cut the ends and this is what you are going to see.
 ~Step 6~
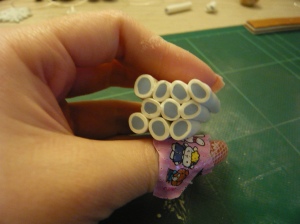
Cut the cane into 5 little canes in equal length and cut them in half again ( total of 10 little canes with the same length). Gather them together.
~Step 7~
Gently squeeze the canes together until they are tightly intact.
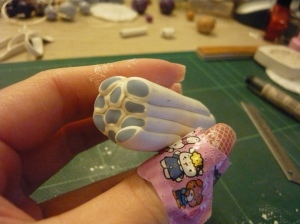 ~Step 8~
With your hand, roll the cane until it is 10mm diameter.
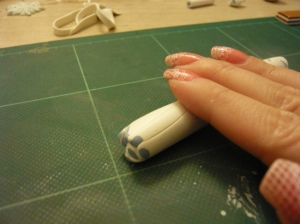
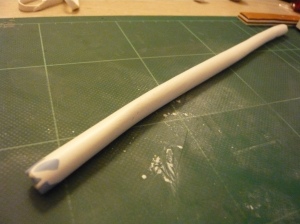
~Step 9~
Cut the ends and voila! Here is your mosaic cane.
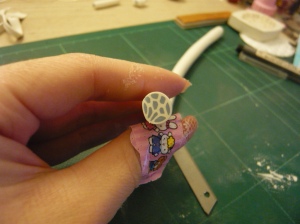
~Step 10~
To make a mosaic bead, take some scrap clay (or the cut out ends from the mosaic cane) and form it into a ball. The size of it depends on how big you want the bead to be (for example: 15mm in diameter).
Cut thin slices from the cane, as thin as possible.
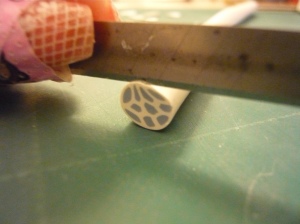
~Step 11~
Stick the slices on the scrap ball until the whole ball is covered.
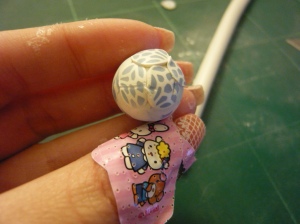
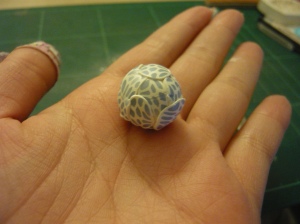
~Step 12~
With your hands, gently roll the covered ball until the surface is nice and smooth.
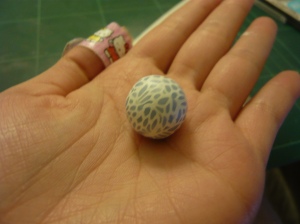
~Step 13~
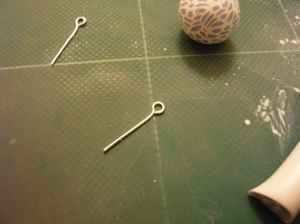
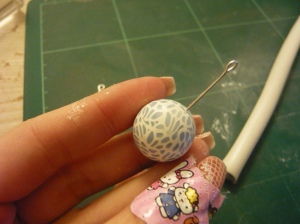
Insert an eye pin into the bead.
~Step 14~
Bake it in the oven at 275F for 30 minutes (or the suggested temperature recommended by the manufacturer). And it’s done!!
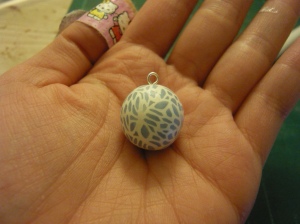
If you want your bead to look shiny, wait till the bead cool down completely, then put one or two layers of gloss on.
Enjoy and try different color combination to create your unique bead.
